How To Grow Microgreens at Home for Fresh Sprouts All Winter Long
How To Grow Microgreens at Home for Fresh Sprouts All Winter Long.
Growing microgreens at home is a cheap and easy DIY project. Here’s what you need, how long it takes, and more tips for success.

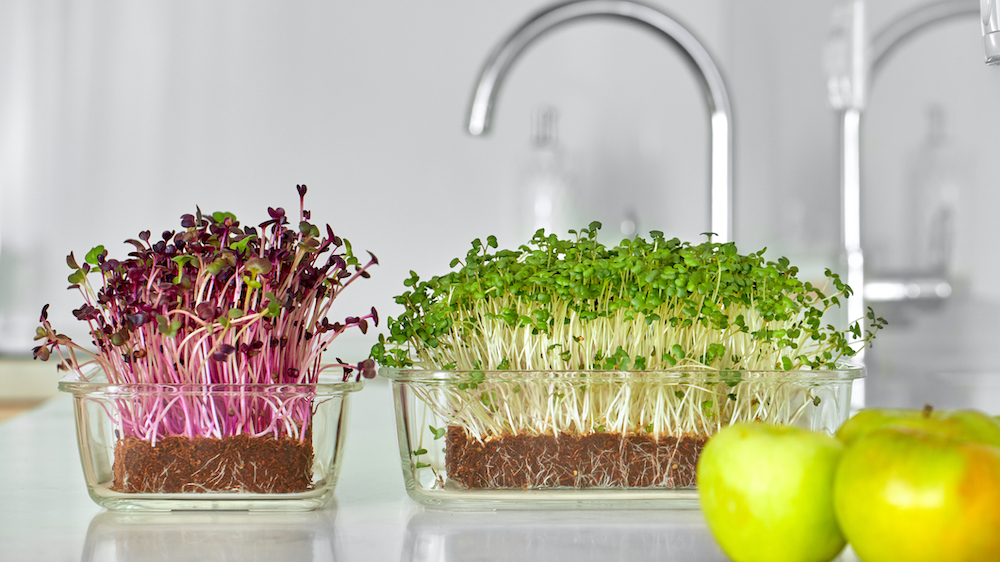
Viktoriia Hnatiuk / Getty Images
That verdant, tangled nest atop your avocado toast looks adorable and tastes like springtime itself. But if you think the only way to satisfy your yummy microgreen fix is to hit up the local hipster cafe or via delivery, guess again.
Growing your own tiny shoots at home doesn’t require a green thumb at all. In fact, this gardening project is as fast and easy as it gets. Microgreens need very little space and maintenance, and can be harvested in less than two weeks.
And if you’re trying to start off 2021 on the right foot with a healthier eating plan, microgreens are a nutritional powerhouse.
“Many of these plants are four to six times higher in vitamins and antioxidants than the same fully grown plants,” says Susan Brandt, master gardener and president of Blooming Secrets.
Read on for more about how to grow microgreens, including the tools to gather and kits to make it easy Here’s to fresh sprouts all year long!
What are microgreens?
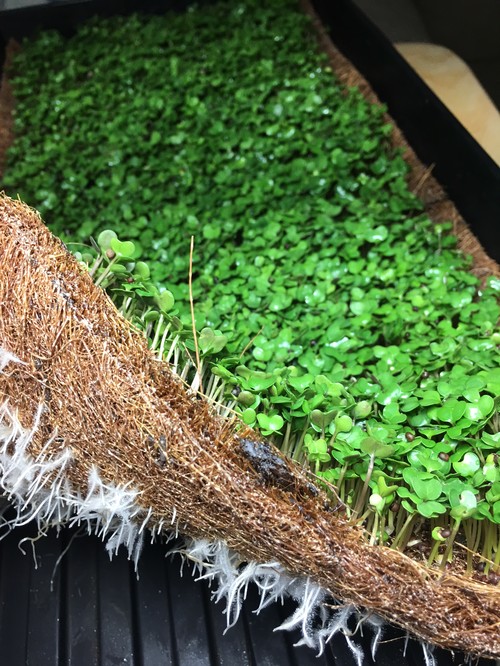
Photo by Urban Farming Concepts
Microgreens are tiny edible seedlings produced from vegetables and herbs. Basically they’re what happens if you let a sprouted seed grow a little bit but not completely mature, says Brandt.
“These young greens reach about 1 to 3 inches in height and are classified as baby plants, which means they’re bigger than a sprout but smaller than a baby green,” adds Oscar Ortega, maintenance care manager at FormLA Landscaping.
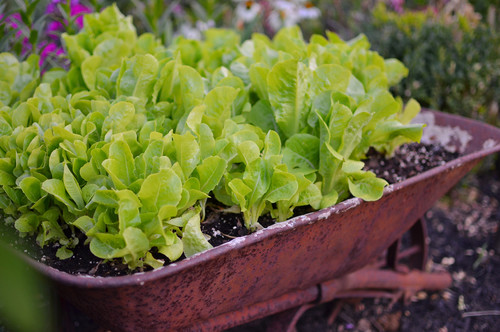
As for which types you can try at home, the menu is vast and depends only on the flavors you prefer. For starters, consider radish, broccoli, arugula, Swiss chard, spinach, amaranth, sunflower, and various lettuces like endive, mizuna, mustard greens, and chicory.
There’s no end in ways to incorporate these tiny sprouts into your meals. Juice fans can toss microgreens into daily shakes, while egg lovers can fold them into omelets and breakfast tacos. Microgreens are also delicious sprinkled on salads, pizza, stir-fries, and burgers, and tucked into sandwiches in place of plain ol’ lettuce.
What you’ll need to grow microgreens
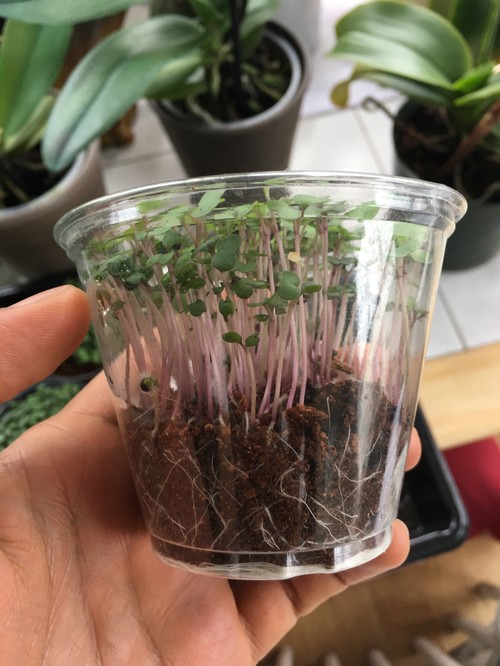
Photo by Urban Farming Concepts
If you love to reuse and repurpose, check your recycling bin for containers to plant a microgreen garden. The pros suggest egg cartons, old takeout or berry boxes, foil muffin tins, small paper or wax cups, or the bottoms of milk containers.
“Look for relatively shallow containers of about 2 inches, and create drainage holes in the bottom,” says Ortega. Line up your containers on a large baking sheet or tray so they’re easier to move.
As for the seeds you’ll need, the experts favor organic or non-GMO versions such as the ones from the Hudson Valley Seed Company or Sustainable Seed Company. Mainstream companies like Burpee also offer options.
You’ll also need potting or starting soil (some companies make special microgreen soil mixes), a spray bottle to water, scissors for clipping, a salad spinner, and markers so you can note the planting date and the variety, says Brandt.
Want to make it even easier? Check out these all-in-one microgreen kits, which include seeds and growing trays—you just add sun and water.
Best kit for first-time growers

Lowe’s
Not sure you’re the DIY gardening type? Consider this low-cost microgreen broccoli kit, which comes with two seed packets and two trays ($13, Lowe’s).
Best kit if you already have seeds

The Home Depot
This option comes with a bag of vermiculite, which is a growing medium, as well as two cute containers with protective tops. You can pair any microgreen seeds with this kit, though beet, arugula, kale, and radish are suggested ($26, Home Depot).
Best kit if you’re fancy and fearless

Amazon
If you’ve sown seeds before and are ready to take your DIY gardening to the next level, check out this kit with 12 seed types (mung, lentil, adzuki, etc.) and stackable trays ($123, Amazon).
Sowing microgreens
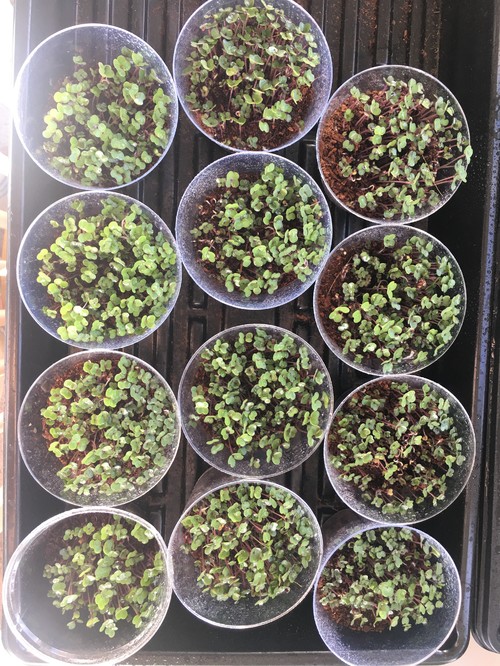
Photo by Urban Farming Concepts
To plant seeds, cover the bottom of your container with an inch or two of potting mix or soil, and scatter a layer of seeds on top. Press seeds gently into the dirt, cover with a thin layer of soil and then spray your work with the bottle to moisten. Place a plastic lid or wrap over the top, and remove it once the seeds have started to sprout.
“You can grow microgreens on a sunny windowsill, chair, or bench in your kitchen; in a mini greenhouse; or outside on a balcony or covered porch if your weather is temperate,” says Brandt.
Aim for about four to six hours of sunlight a day, but if your area isn’t that bright, consider an LED grow light to shine more rays.
Watering and harvesting microgreens

Check your seeds daily, lifting the cover and misting the seeds lightly with the spray bottle.
“After about three days, you’ll see some seeds germinating, and this is when you can remove the plastic top,” says Brandt.
Keep the soil moist until you see germination, and then water when you notice that the soil has dried out, says Ortega.
“The best time to pick your sprouting veggies is when the first leaves appear, which is usually 10 to 14 days after planting,” says Brandt. Snip just above the soil level with your scissors.
“Depending on the type of microgreen you’re growing, some varieties will regrow after you harvest them,” says JT Wilkensen, maintenance care manager at FormLA Landscaping.
Once you’ve picked your bounty, give them a whirl in the salad spinner to clean and store in the fridge, where they’ll stay fresh for about five days.
Check the temperature and light
Don’t let your delicate seeds get too cold!
“Most seeds do best at 70 degrees Fahrenheit, so if your space is cooler, think about using a heat mat for a few days while the seeds germinate,” says Brandt. Most greens can grow at a colder temp, but the process slows below 50 degrees.
Have spotty growth in your seed cups?
“If you see the microgreens coming up in an irregular pattern, rotate the tray every couple of days so all of the sides get equal access to the light,” suggests Brandt.
The post How To Grow Microgreens at Home for Fresh Sprouts All Winter Long appeared first on Real Estate News & Insights | realtor.com®.